Create a Customer
The first thing you want to do after completing your First Time Setup in Kimai is to create your first customer. This guide will walk you through the process step by step.
Dashboard
Once you've completed the initial setup, you'll be presented with the Kimai dashboard:
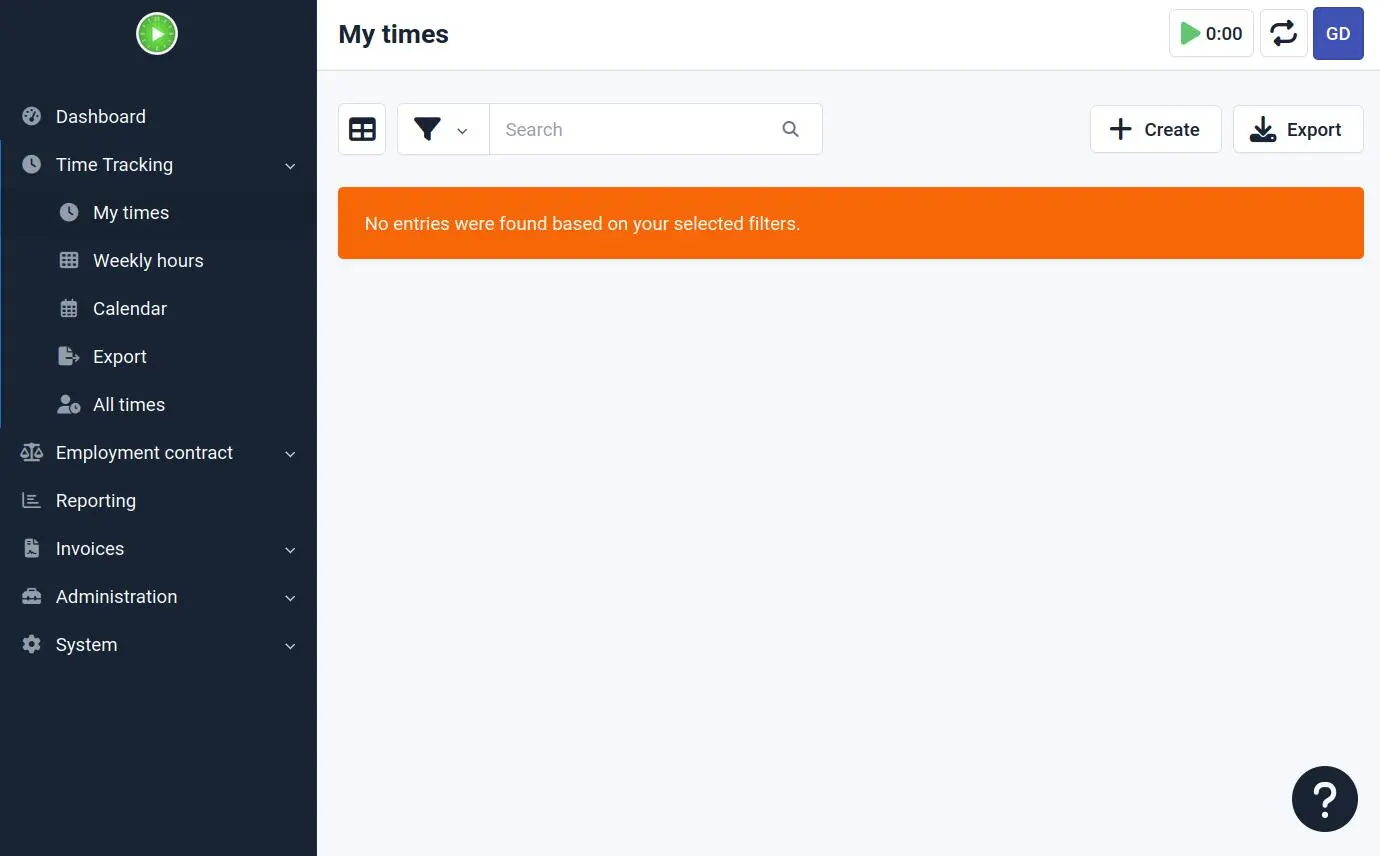
This is your central hub for time tracking, but before you can start tracking time, you'll need to set up at least one customer.
Administration Sidebar
To create a customer, first access the administration area:
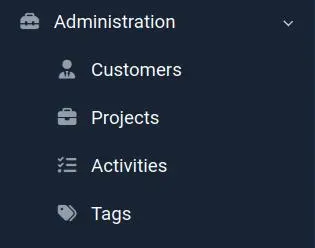
- Click on the "Administration" dropdown in the left sidebar
- Select "Customers" from the menu options
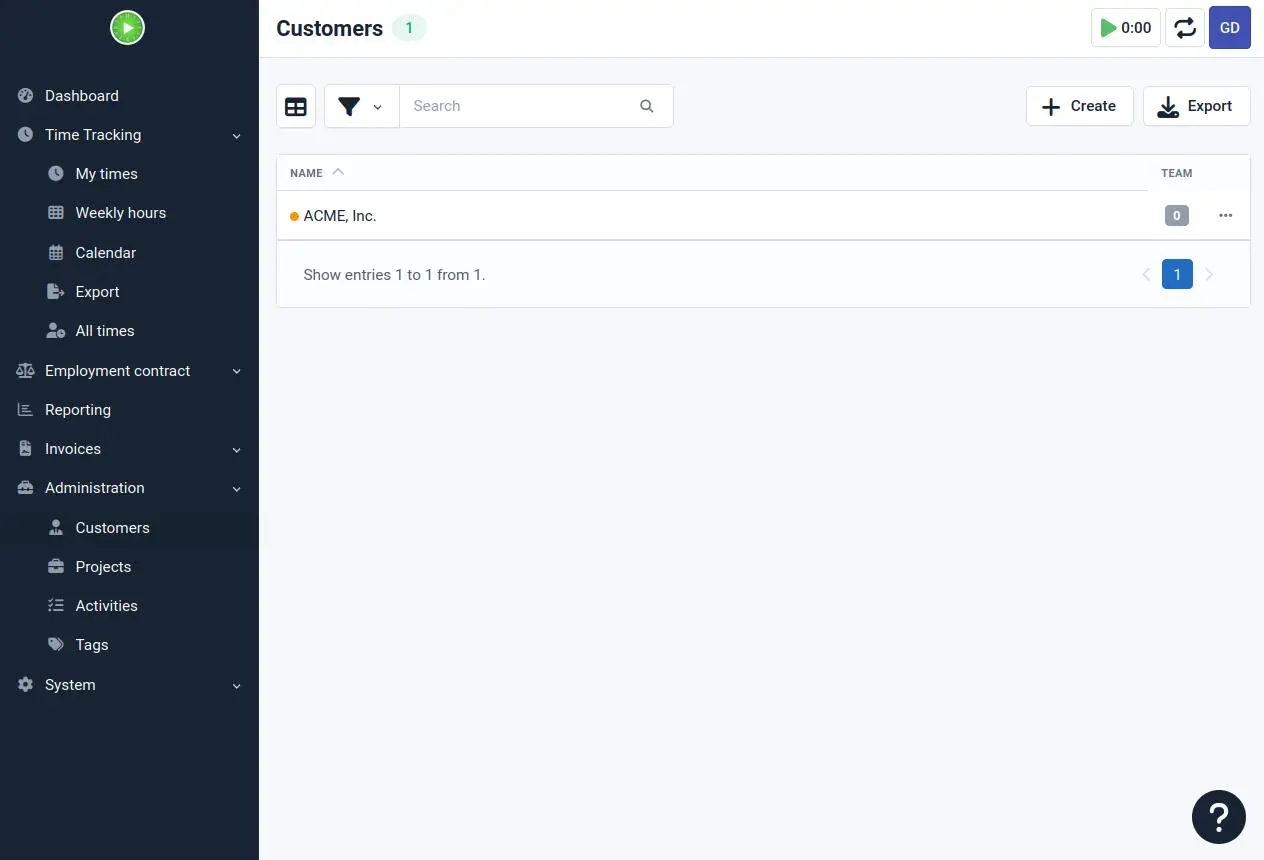
Customers Overview
You'll be taken to the customers overview screen:
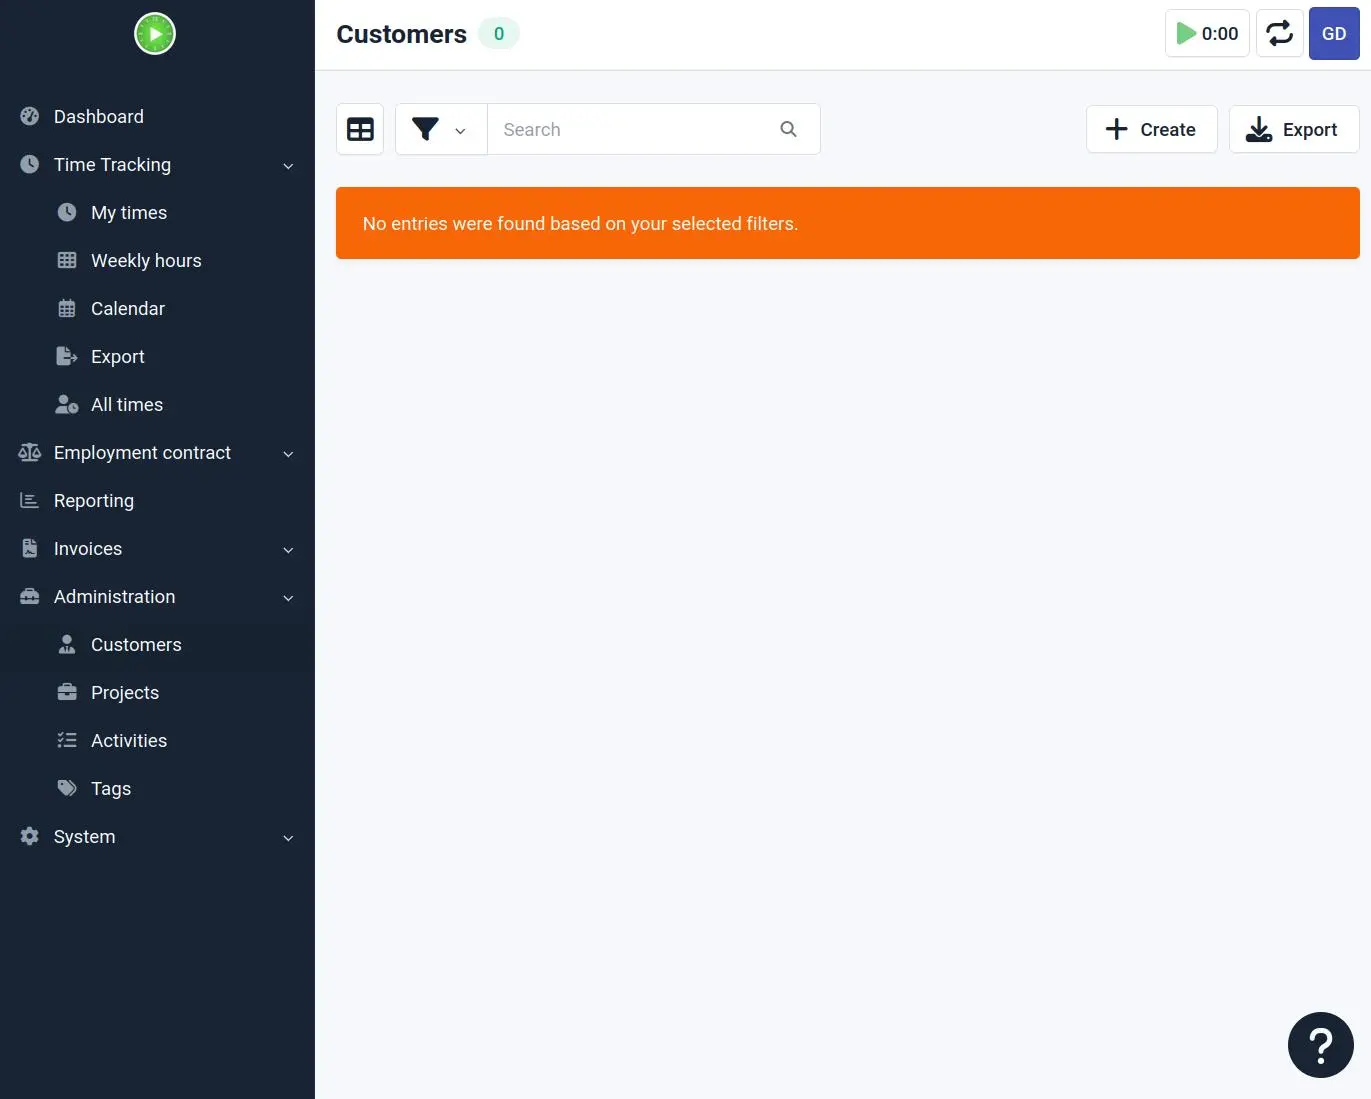
When you're just starting, this list will be empty. Don't worry - we'll create your first customer now!
Create
To add a new customer:
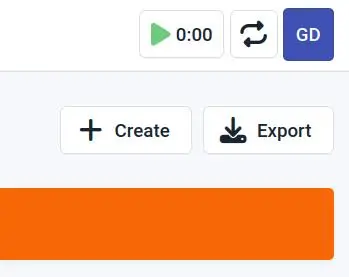
Click the "+ Create" button in the upper right corner of the screen to open the new customer dialog.
New Customer Dialog
The new customer creation form will appear:
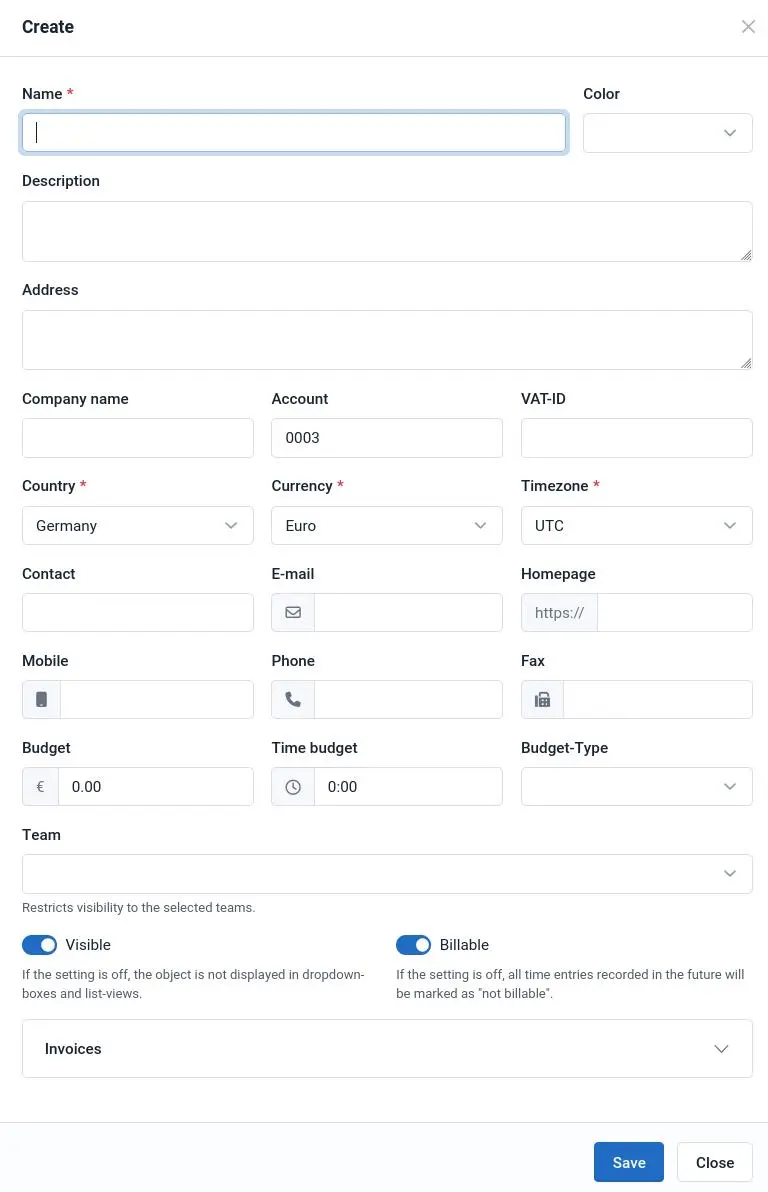
Fill in the following details for your customer:
- Name: Enter the customer's name
- Description: Add a short description for the customer (optional)
- Address: Enter the customer's complete address (optional)
- Company name: Enter the customer's company name (optional)
- Account: Assign a unique customer number (optional)
- Country: Choose the customer's country
- Currency: Select the billing currency for this customer
- Timezone: Set the customer's timezone for accurate time tracking
- Contact Details: Add phone, email, homepage, and other contact information (optional)
Note
You can edit these details later by clicking on the customer in the customers list and selecting the edit option.
Account Numbers
While account numbers are optional, using them can help organize your billing and reporting, especially if you have multiple customers with similar names.
After filling in the required information, click "Save" to create your new customer.
Congratulations
Your new customer will now appear in your customers list:
Additionally, this new customer will be available when you create a project, which is the next step!