Create a Project
After creating your first customer, the next step is to create a project.
Projects in Kimai
Projects in Kimai are assigned to customers and are linked to activities, which are then used for time-records.
Dashboard
Let's start by returning to the Kimai dashboard. You should see the following screen:
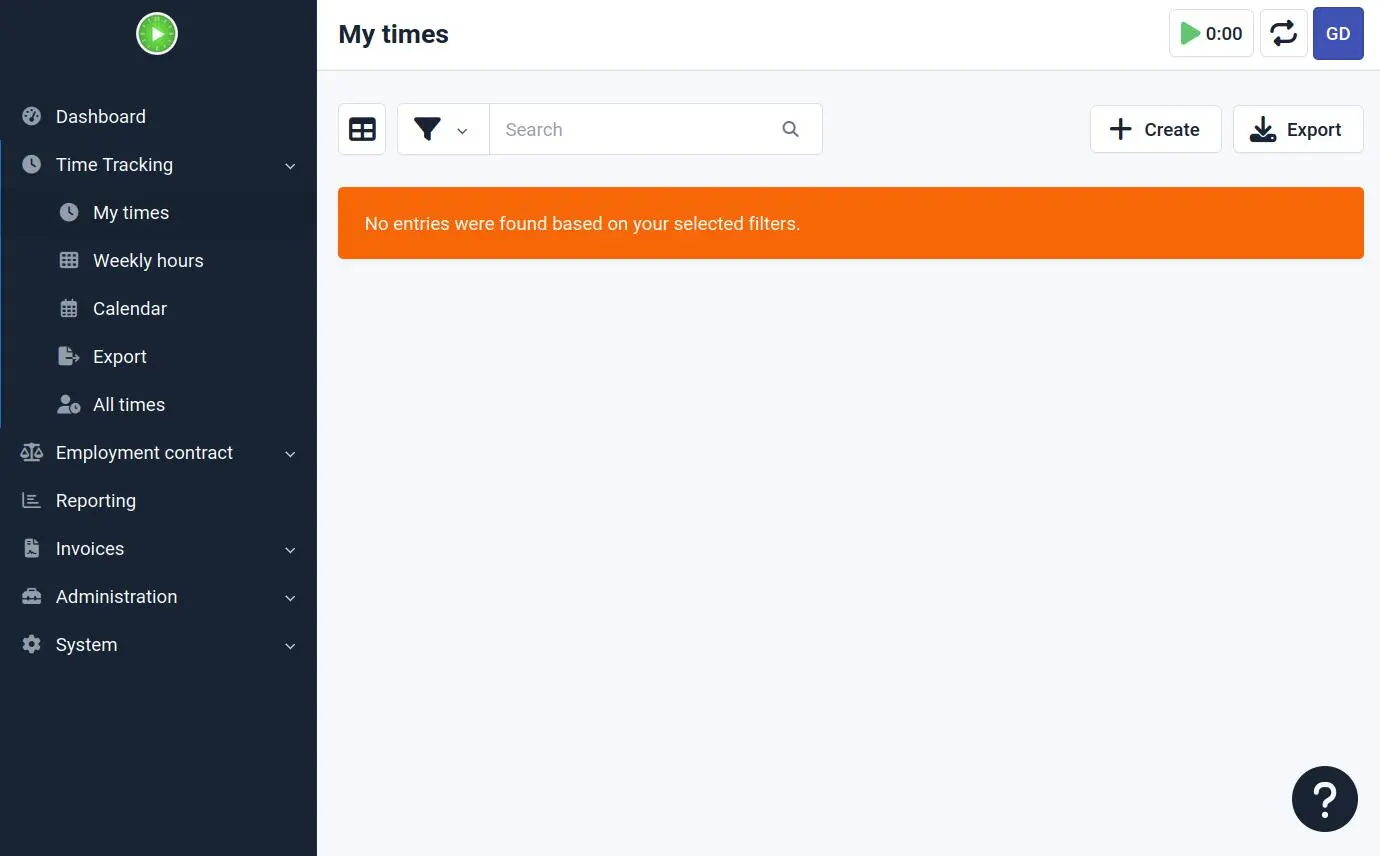
This is your central hub for time tracking. Now that you have a customer set up, you can create your first project.
Administration Sidebar
To create a project, first access the administration area:
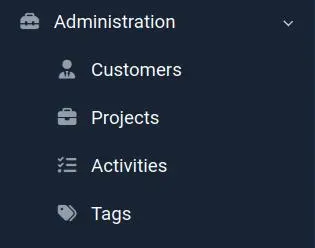
- Click on the "Administration" dropdown in the left sidebar
- Select "Projects" from the menu options
Projects Overview
You'll be taken to the projects overview screen:
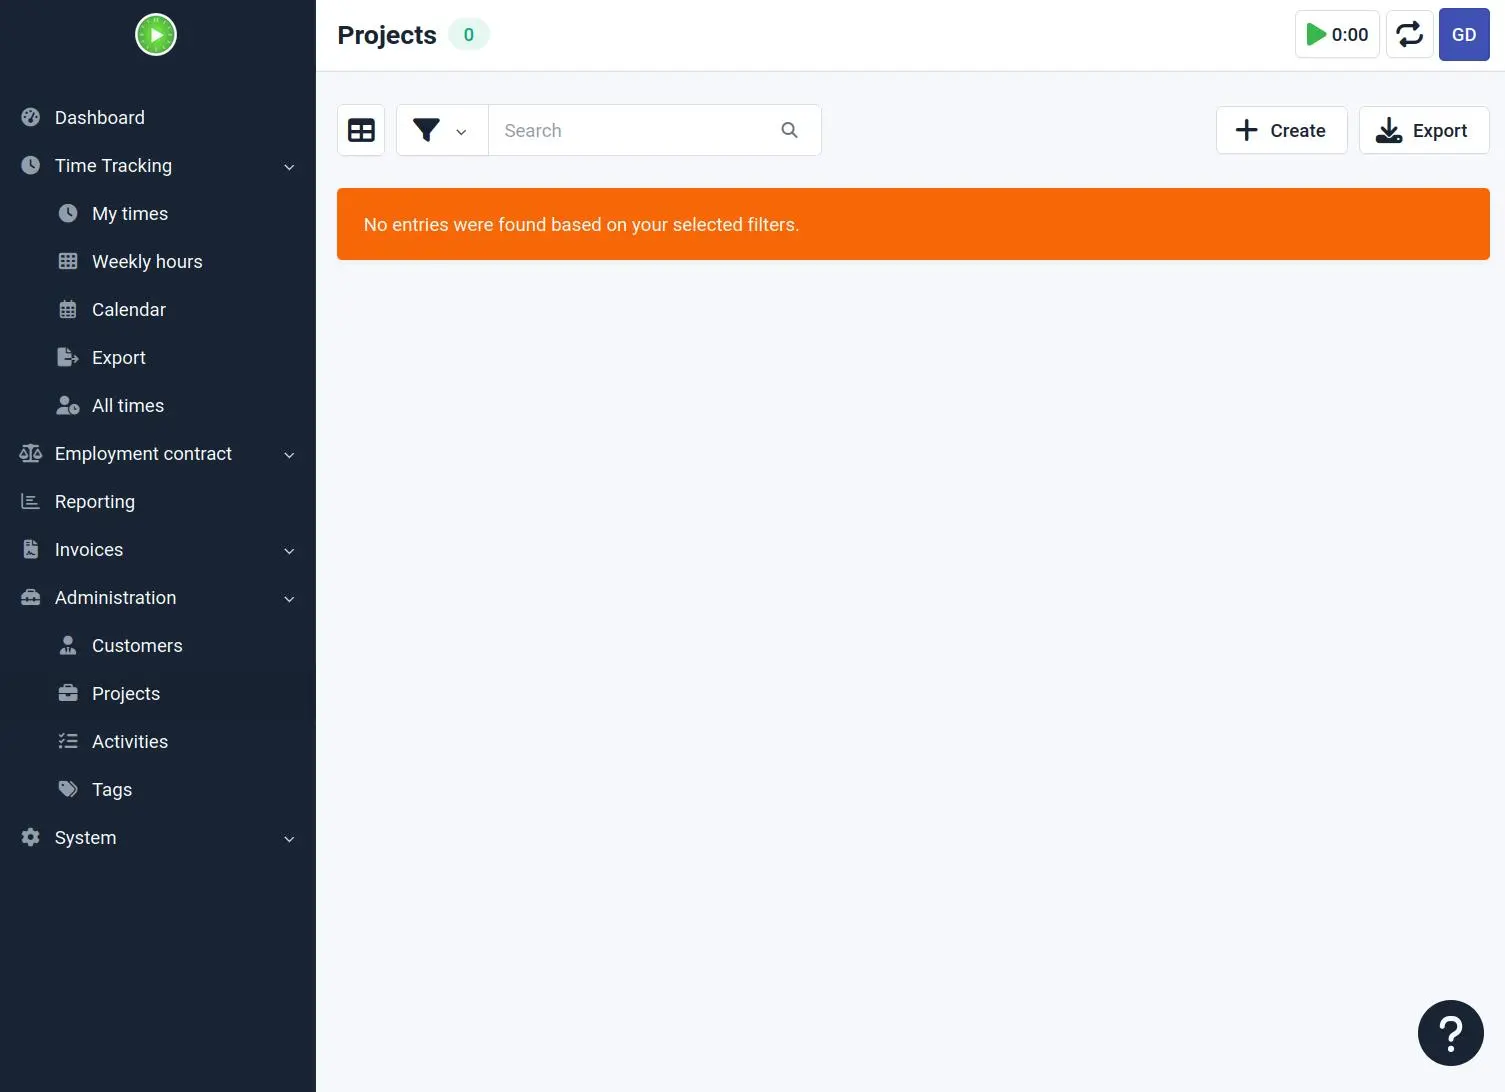
When you're just starting, this list will be empty. Let's create your first project!
Create
To add a new project:
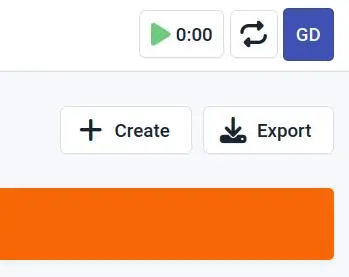
Click the "+ Create" button in the upper right corner of the screen to open the new project dialog.
New Project Dialog
The new project creation form will appear:
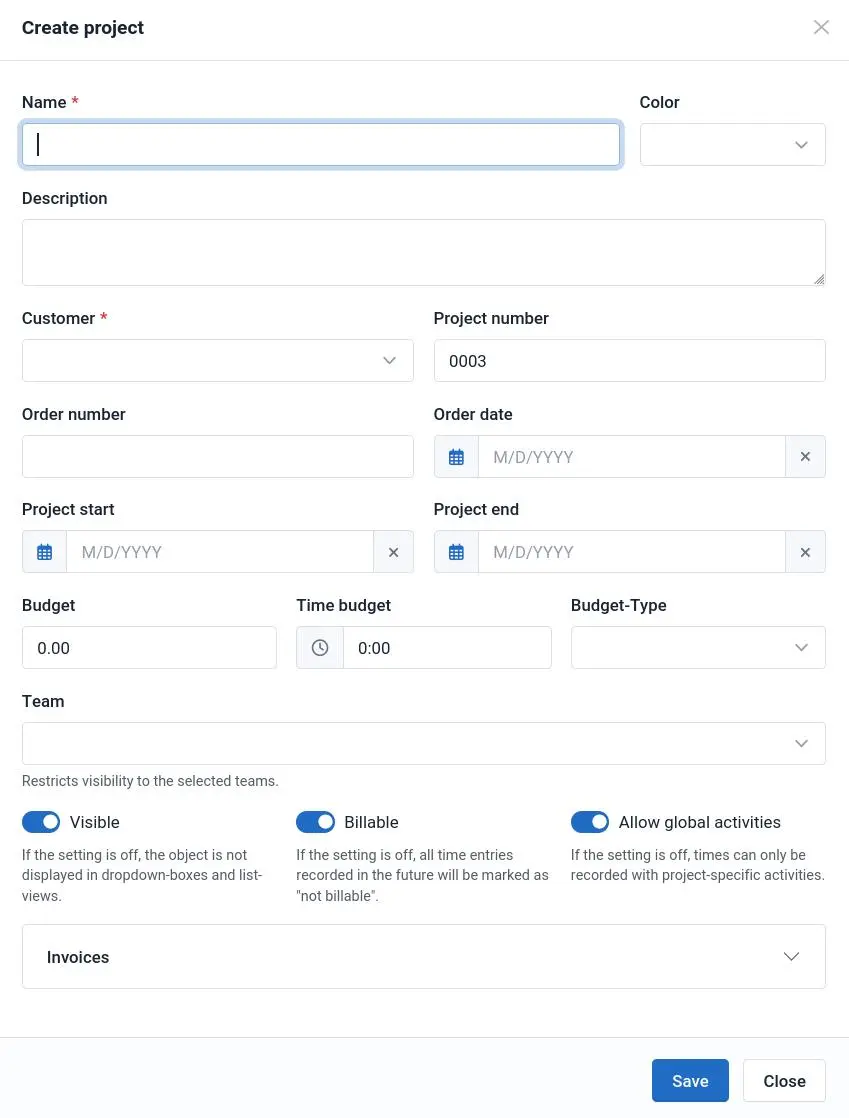
Fill in the following details for your project:
- Name: Enter a descriptive name for your project
- Description: Add details about the project (optional)
- Customer: Select the customer we created in Create a Customer, or any other customer you want to assign this project to
- Project Number: Enter a reference number for this project (optional)
- Order Number: Enter a reference number for billing (optional)
- Start Date / End Date: Project start and end dates are optional, but setting them will help limit which projects appear in the timesheet editing screen to only those active during your selected time period.
Details of the other fields are explained in the Kimai Project Documentation.
Note
You can edit these details later by clicking on the project in the projects list and selecting the edit option.
After filling in the required information, click "Save" to create your new project.
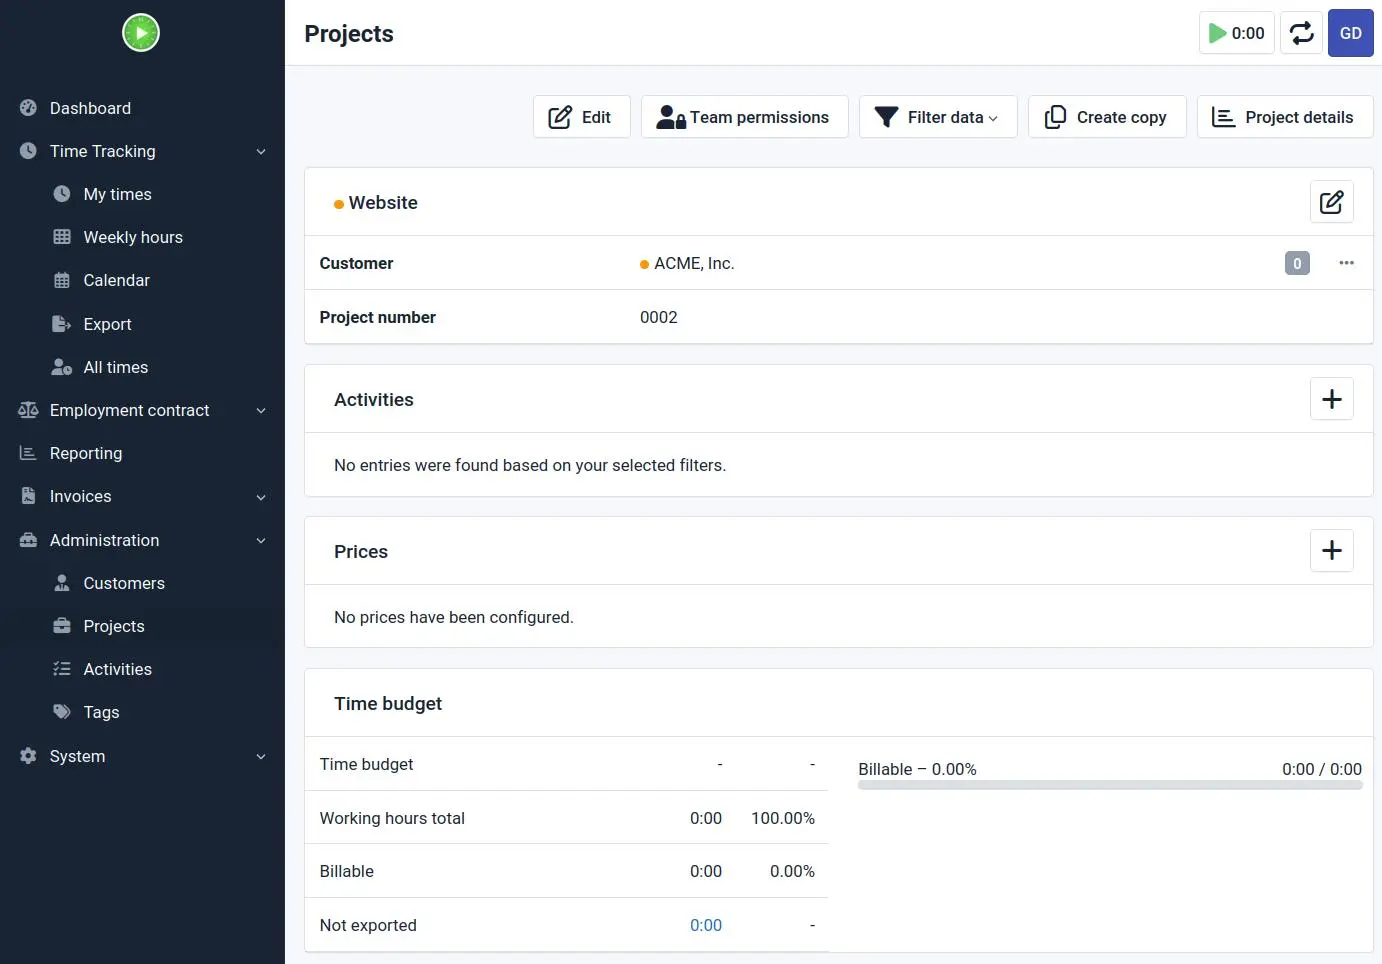
Project Details
You'll be returned to the project details page. In our example, we created a project for the customer "ACME, Inc." called "Website."
Projects List
Click the "Projects" link in the Adminstration menu again, and you'll also now see your new project listed:
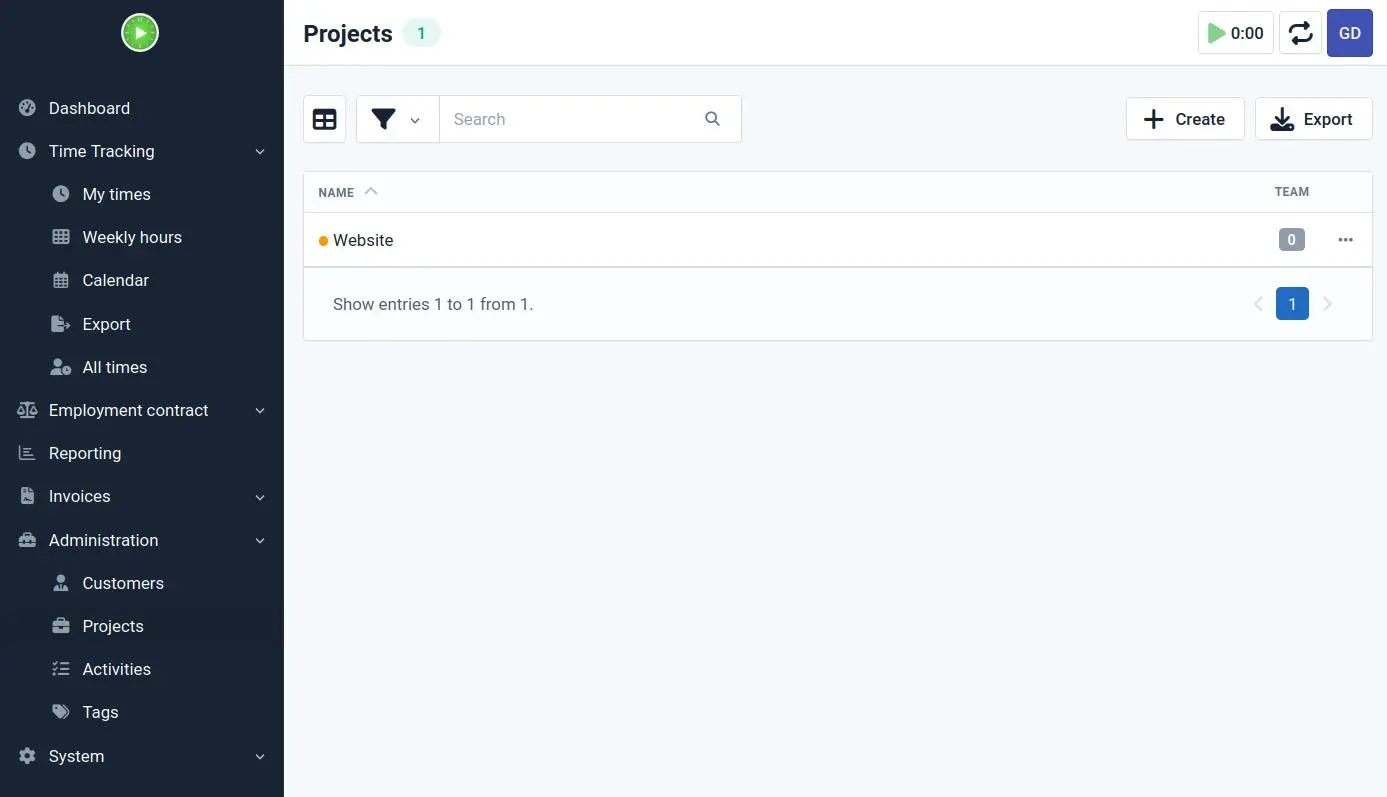
Congratulations! You've successfully created your first project in Kimai.
Before you can start tracking time, you need to create an activity, which is the next step!