First Time Setup
This guide will walk you through the initial setup of your Kimai time tracking instance. Follow these steps to get started with your new account.
Login
When you receive your welcome email from Kimai Hosting, you'll find a link to your new Kimai instance and your first-time login credentials. Click the link and you'll see the login screen:
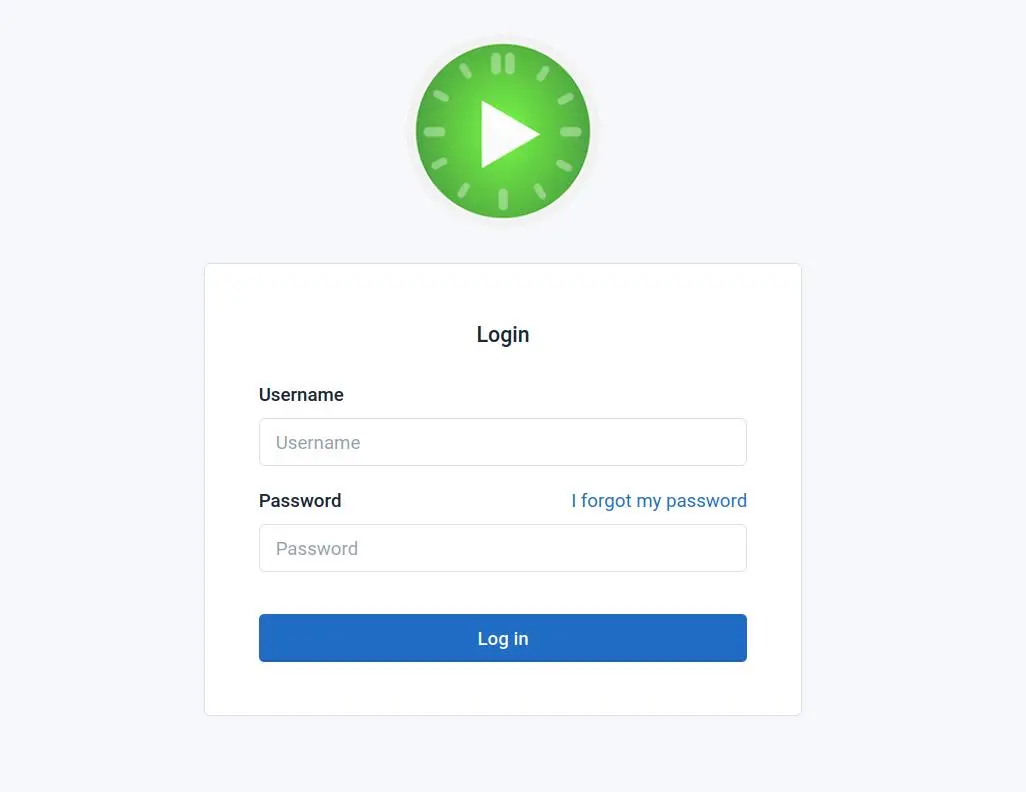
- Enter the email address you used during registration, it is your Username
- Enter the password provided in your welcome email
- Click "Log in" to proceed
Password Security
We recommend changing your password after your first login for security purposes.
Getting Started Wizard
After your first login, you'll be greeted by the Getting Started wizard:

The wizard will guide you through the essential setup steps for your Kimai instance. Click "Next" to begin the configuration process.
Set Up Profile
Next, you'll be prompted to configure your personal preferences:
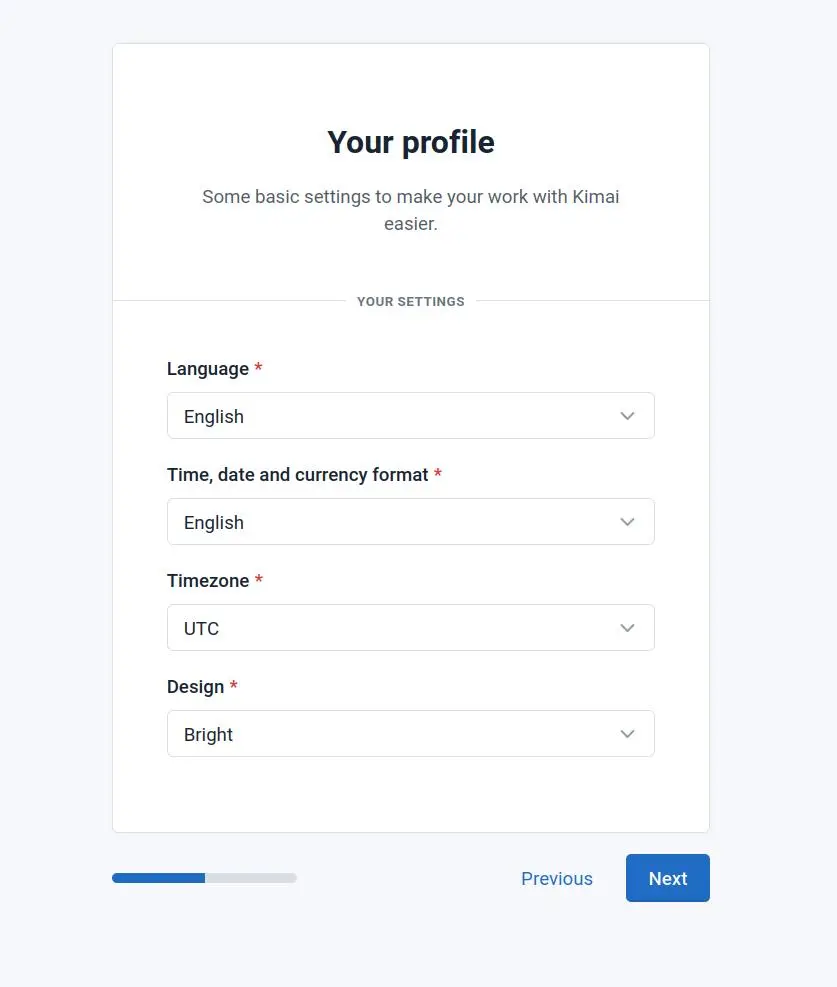
Configure the following settings:
- Language: Choose your preferred interface language
- Time/Date Format: Select how dates and times should be displayed
- Currency: Set your primary billing currency
- Timezone: Choose your local timezone
- Design: Select between light and dark mode
Note
These settings can be changed later in your profile preferences if needed.
Congratulations
Once you've completed the initial setup, you'll see the confirmation screen:
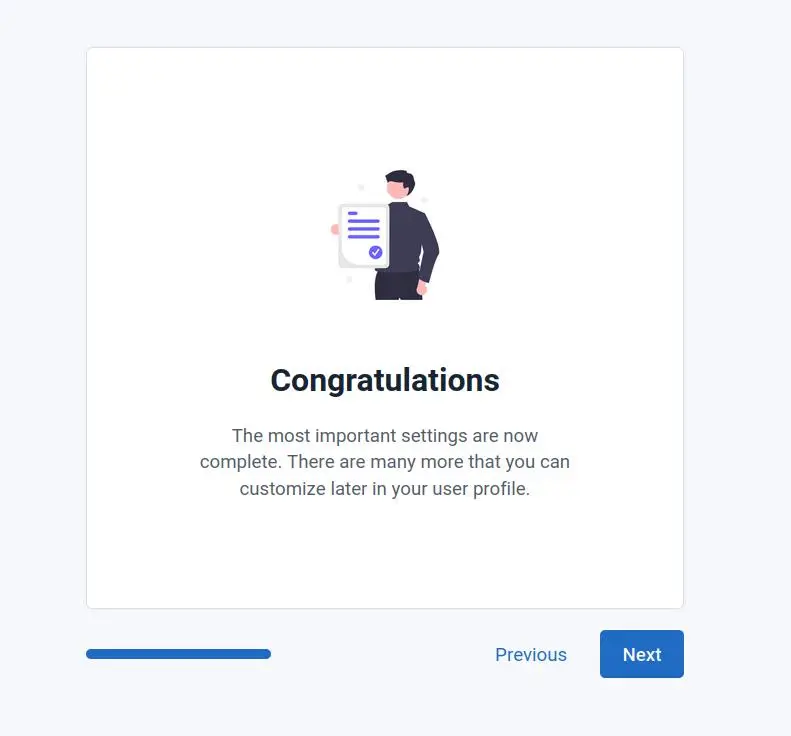
You're now ready to start using Kimai! Your instance is configured with your preferences and ready for:
- Creating your first customer
- Creating your first project
- Adding activities
- Recording time entries
- Generating reports