Create an Activity
After creating your first project, you'll want to create activities that you can use to track time against. This guide will walk you through creating your first activity in Kimai.
Activities in Kimai
Activities describe the type of work performed during a time-record.
Dashboard
Let's start from the Kimai dashboard:
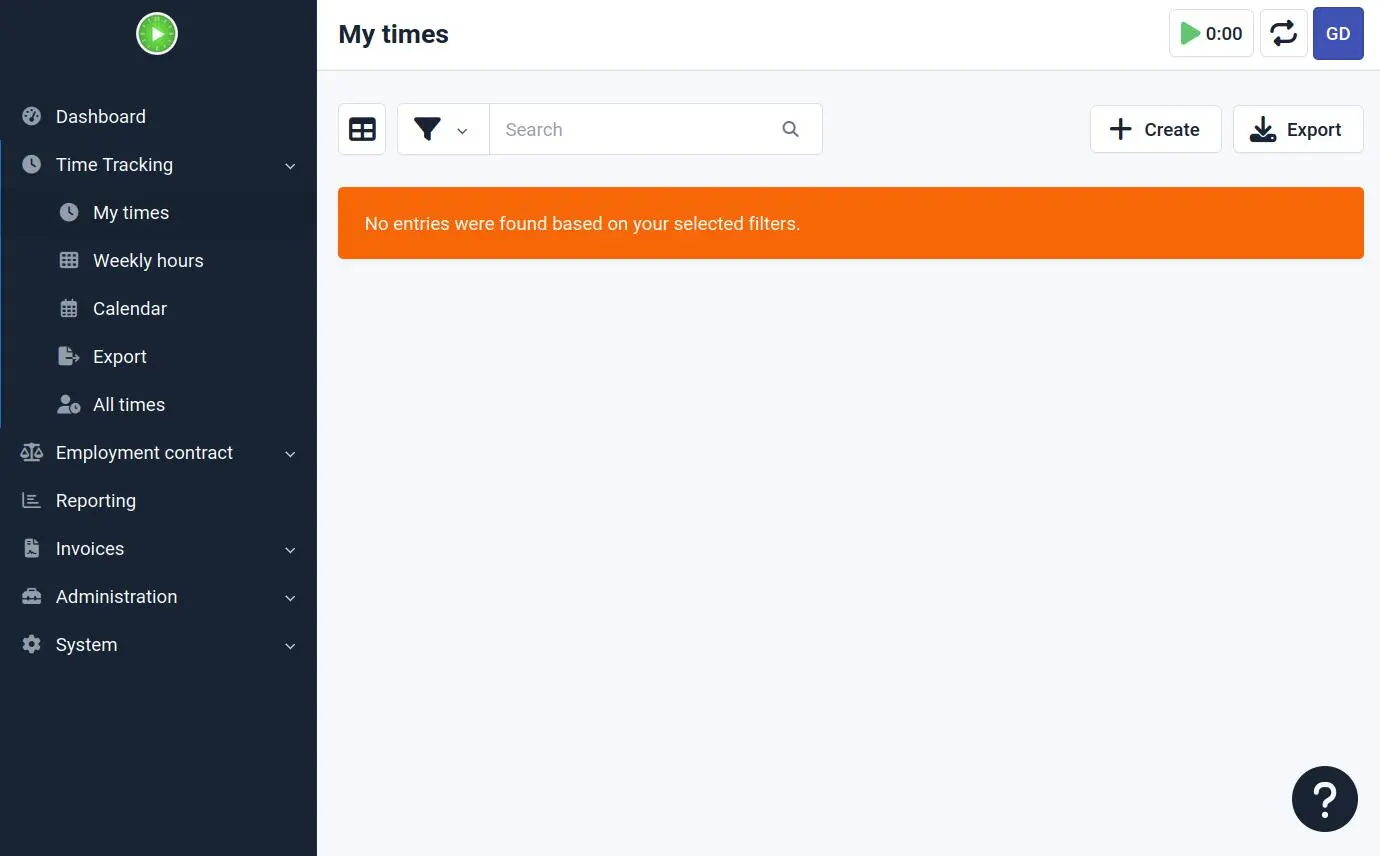
Now that you have both a customer and project set up, we can create your first activity.
Administration Sidebar
To create an activity, first access the administration area:
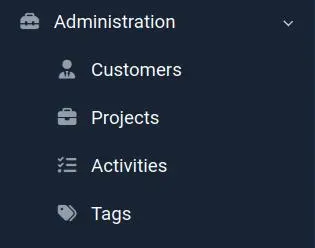
- Click on the "Administration" dropdown in the left sidebar
- Select "Activities" from the menu options
Activities Overview
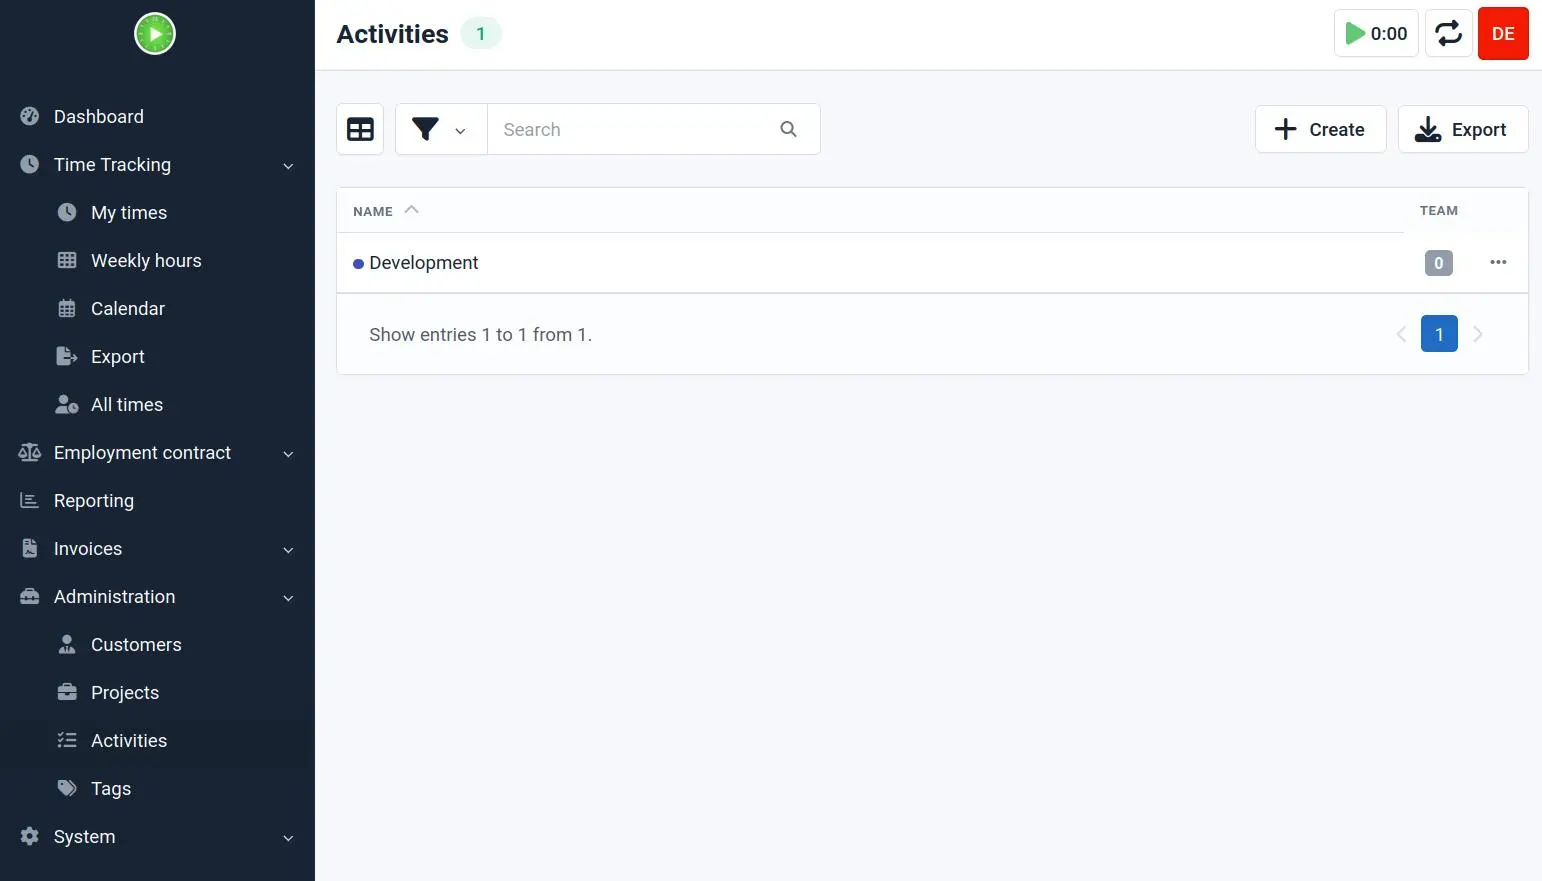
You'll be taken to the activities overview screen:
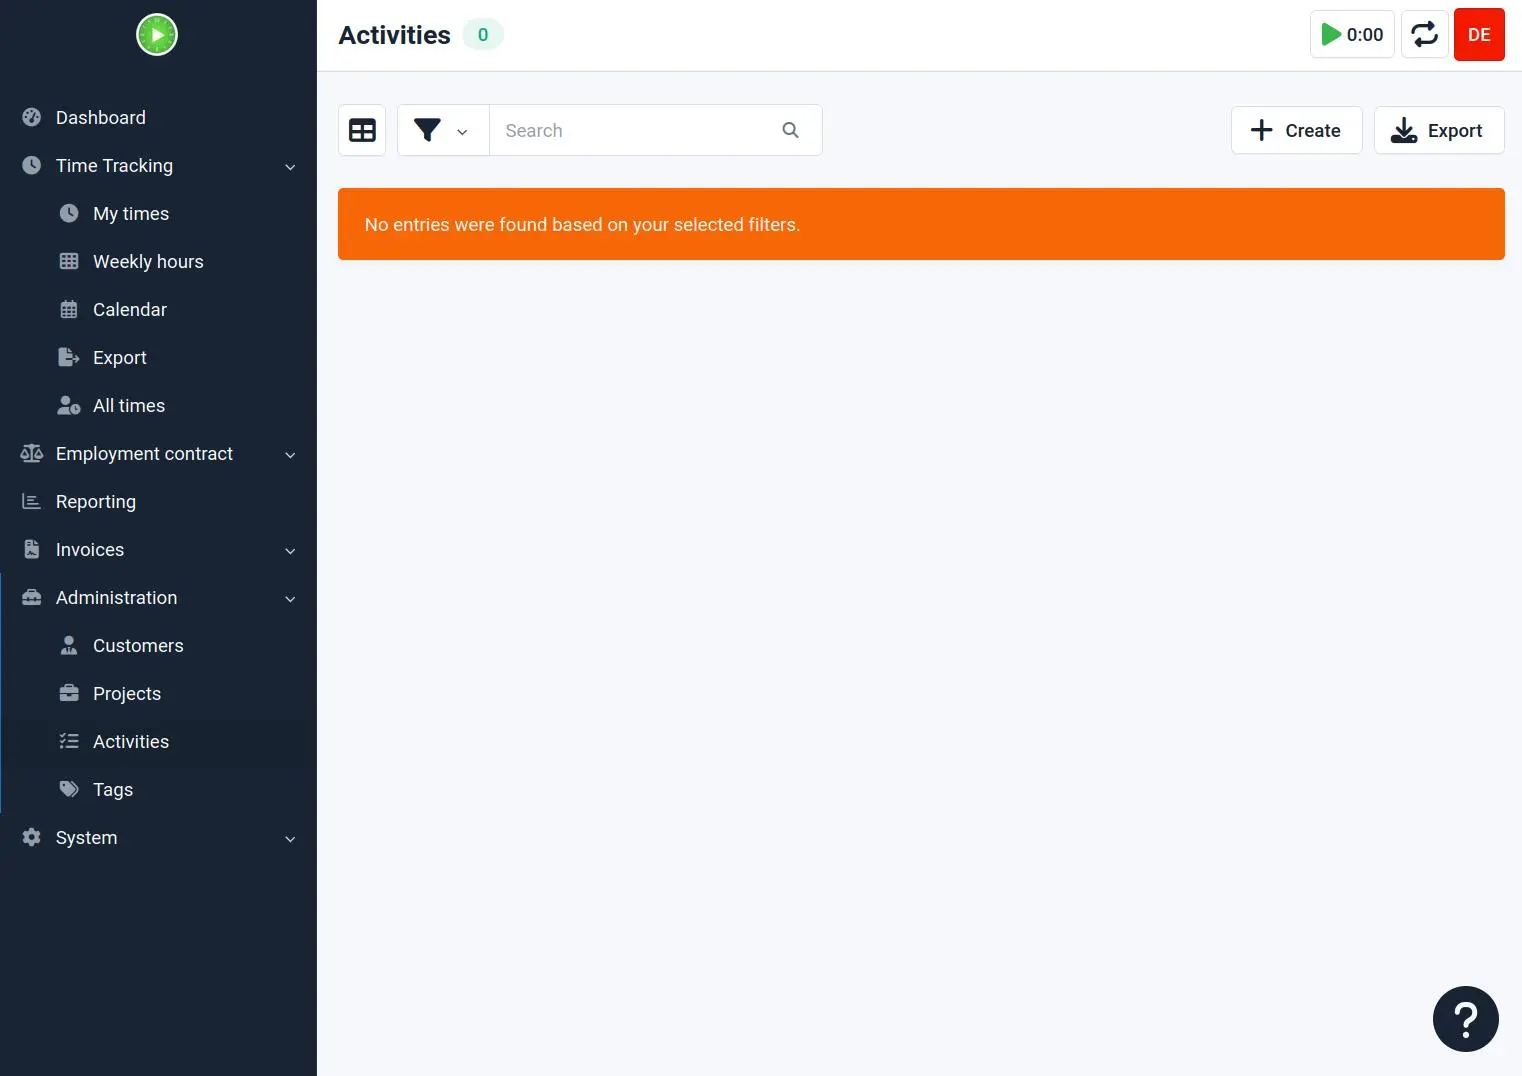
When you're just starting, this list will be empty. Let's create your first activity!
Create
To add a new activity:
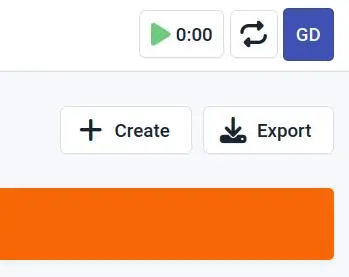
Click the "+ Create" button in the upper right corner of the screen to open the new activity dialog.
New Activity Dialog
The new activity creation form will appear:
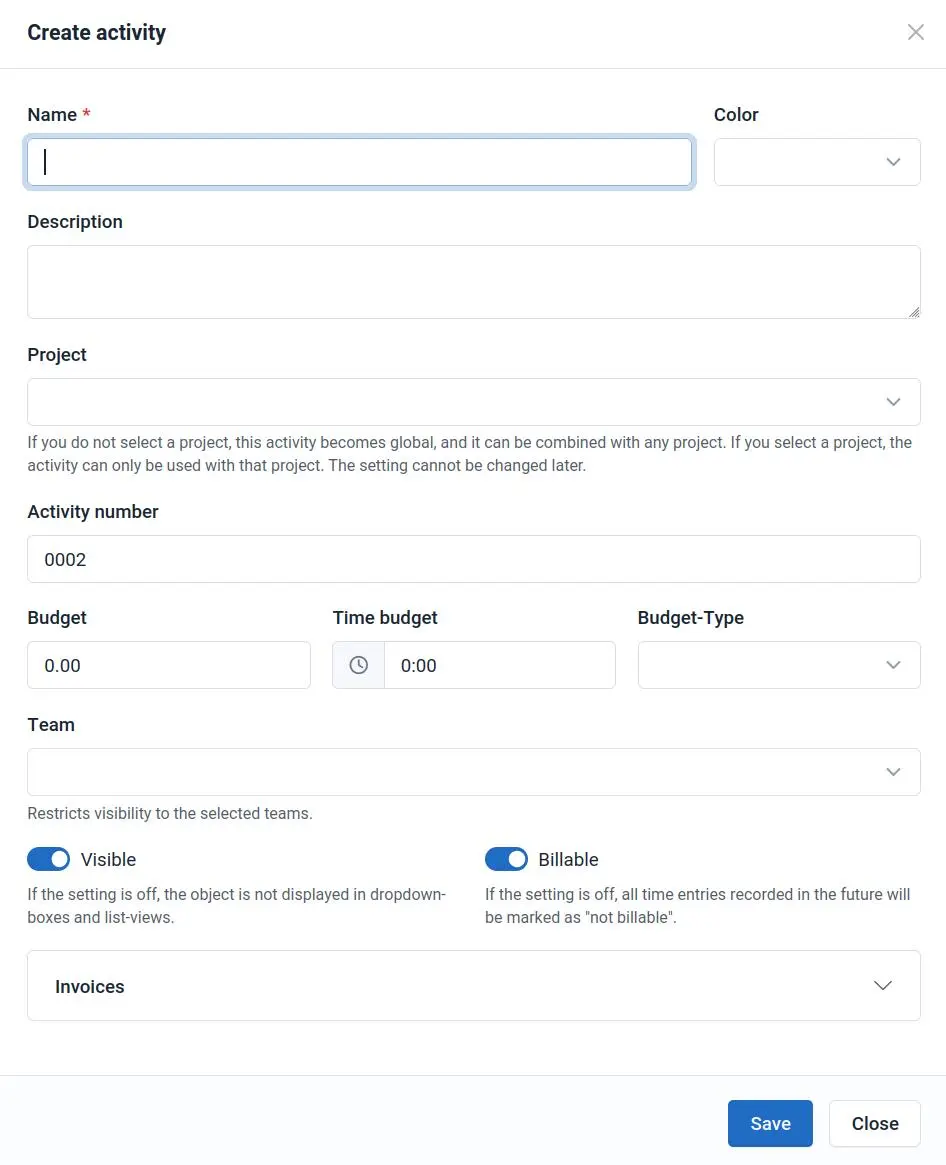
Fill in the following details for your activity:
- Name: Enter a descriptive name for your activity (e.g., "Development", "Design", "Meeting")
- Color: Choose a color to easily identify this activity (optional)
- Description: Add details about the activity (optional)
- Project: Select the project this activity belongs to (optional). If you don't select a project, the activity will be considered a "global" activity and will be available to all projects.
- Budget and Time Budget: Set time or money budgets if needed (optional)
- Team: Select the team this activity belongs to (optional)
- Rate: Define hourly rates for billing (optional)
Note
You can edit these details later by clicking on the activity in the activities list and selecting the edit option.
Warning
However, pay special attention to the Project field. This setting cannot be changed later.
After filling in the required information, click "Save" to create your new activity.
Activity Details
After saving, you'll see the activity details page:
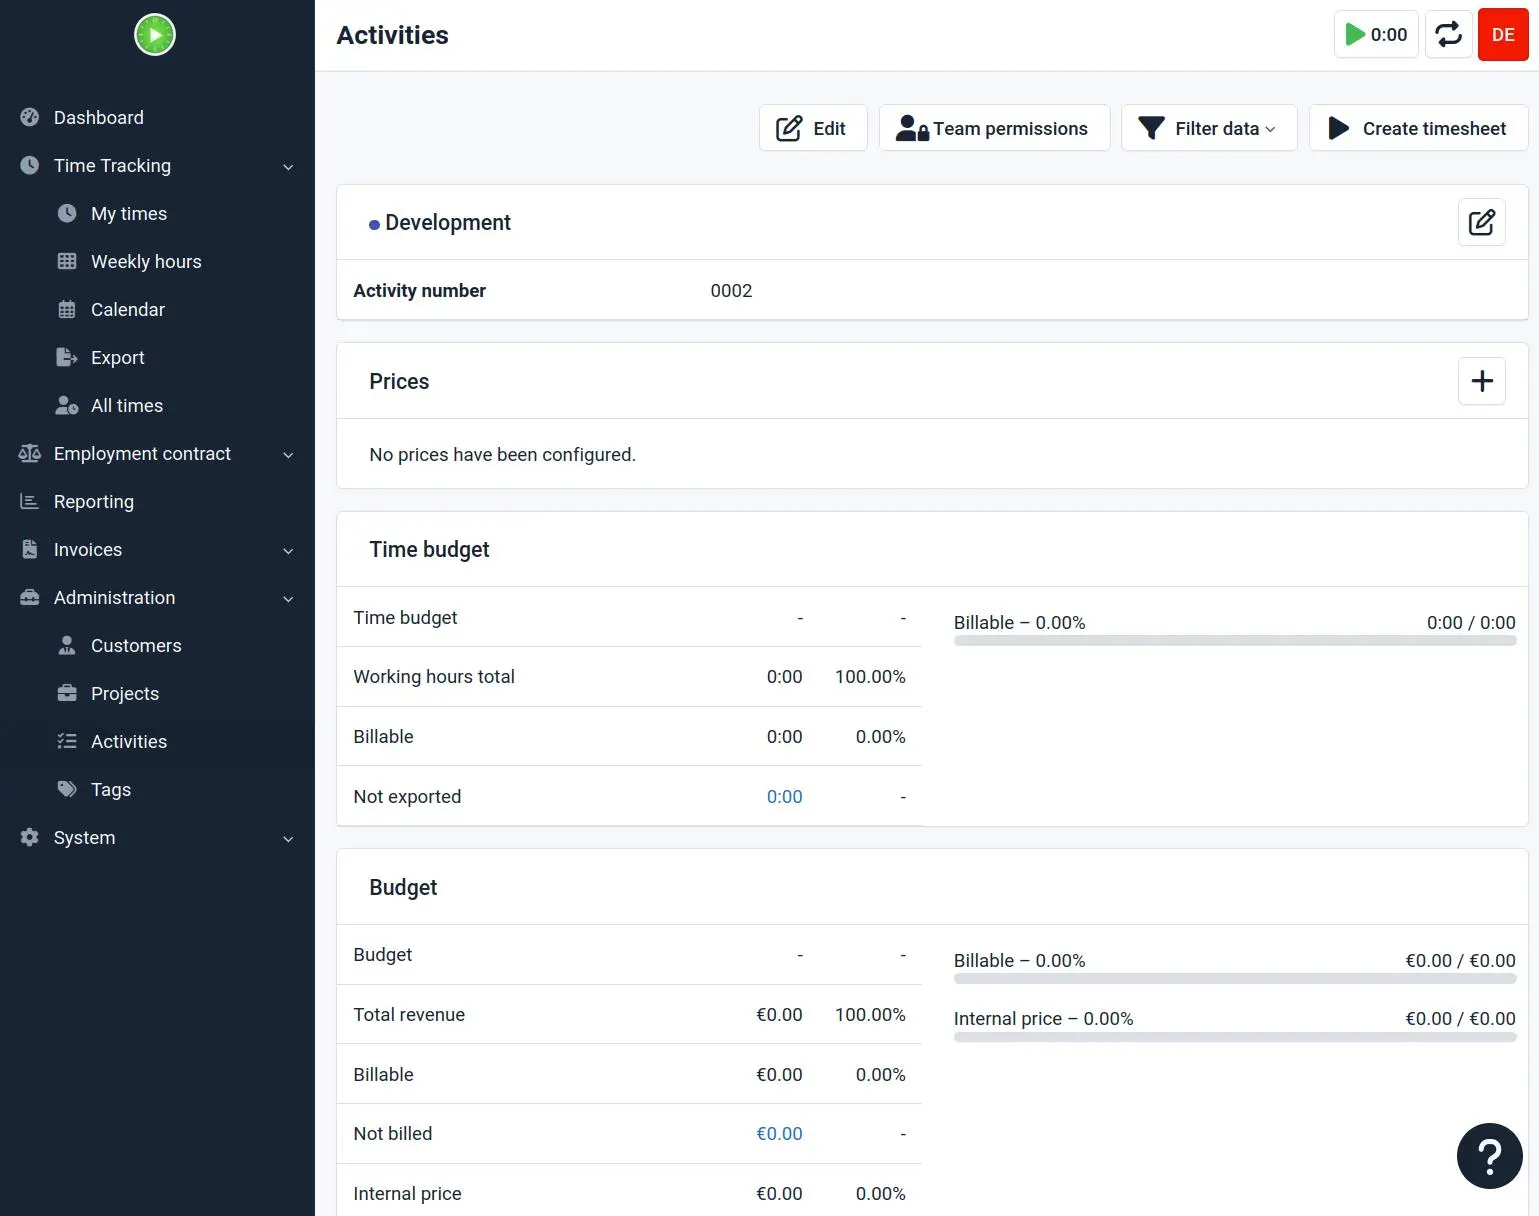
This page shows all the information about your newly created activity.
Activities List
If you return to the Activities section in the Administration menu, you'll now see your new activity listed:
Congratulations! You've successfully created your first activity in Kimai. You can now:
- Create additional activities as needed
- Start tracking time using your new activity
- Generate reports filtered by activity
- Manage activity budgets and rates
You're now ready to begin tracking time in Kimai!