Track Your Time
Now that you've set up your customer, project, and activity, you're ready to start tracking time in Kimai! This guide will walk you through the process to get started.
Dashboard
Let's start from the Kimai dashboard:
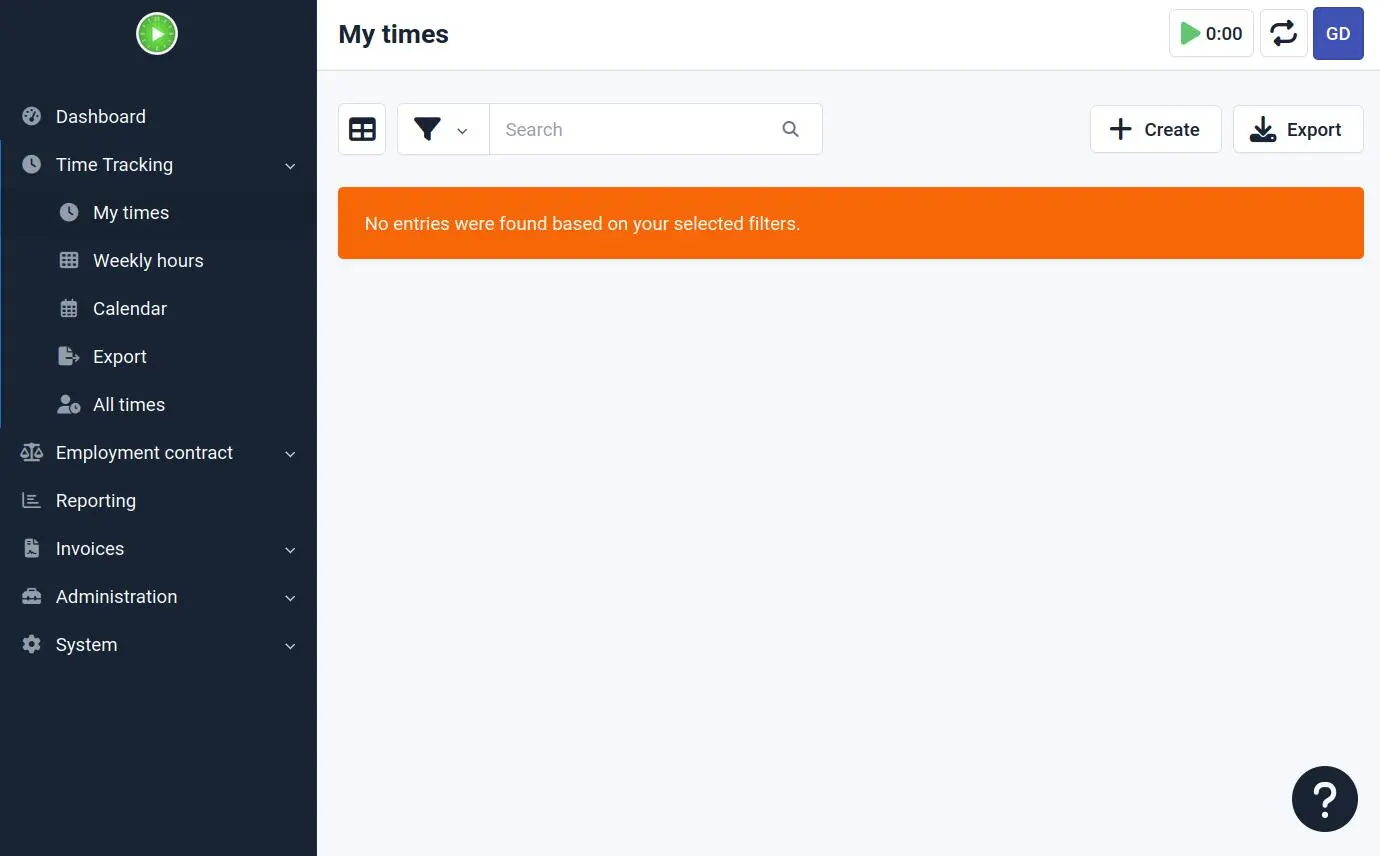
The dashboard is where you'll spend most of your time when tracking work. Let's look at how to create your first time entry.
Start Timer
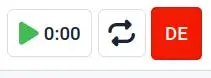
To begin tracking time, click the green triangle button (looks like a "Play" button), in the upper right corner. This is the "Start Timer" button:
The "Create" timesheet dialog will appear.
Create Timesheet Dialog
The timesheet creation dialog looks like this:
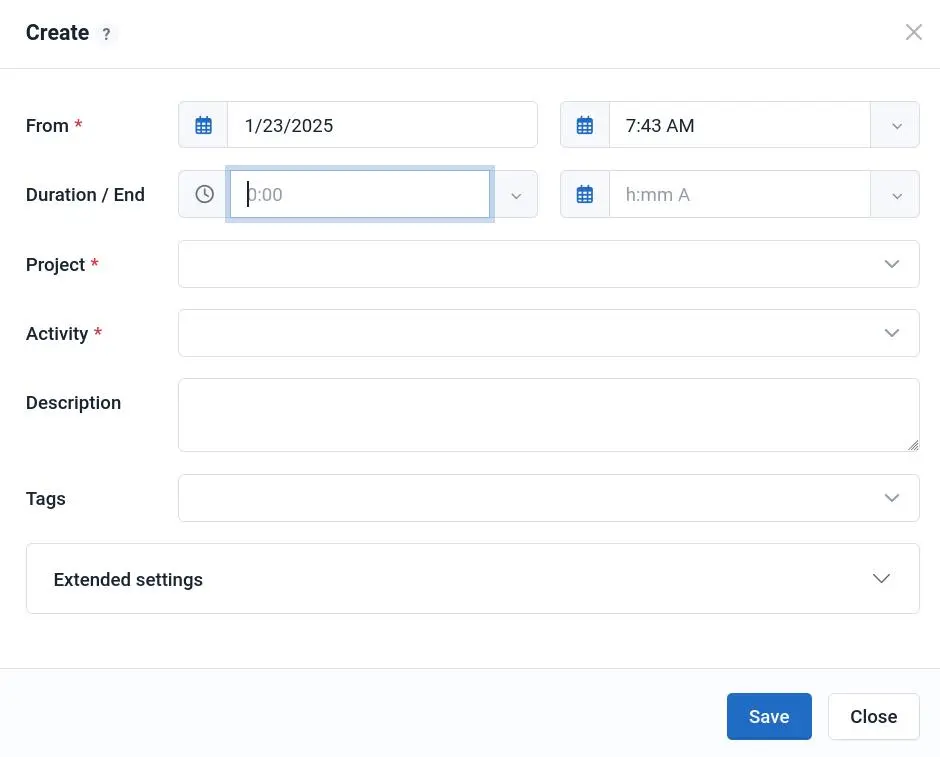
Fill in the following details:
- From: The start time of the time record. Usually, you can just leave this as-is; it's the current time.
- Project: Select your project from the dropdown
- Activity: Choose the activity you want to track time against
- Description: Add notes about what you're working on (optional)
- Tags: Add tags to help organize your time entries (optional)
Recent Entries
After you've created a few time records, Kimai will show your recent Project/Activity combinations for quick access.
Active Timer
Once you start the timer, you'll see the active timer in the upper right:
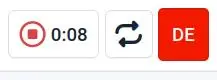
In this case, 8 minutes have elapsed since I started the timer.
The timer will continue running until you stop it.
Stop Timer
When you're done working, click the stop button (red square inside red circle). Your new timesheet entry will appear immediately in the "My times" view, as long as you've been following along and haven't navigated away from this page.
Timesheet Entries
Your recorded time as it will appear in your timesheet:
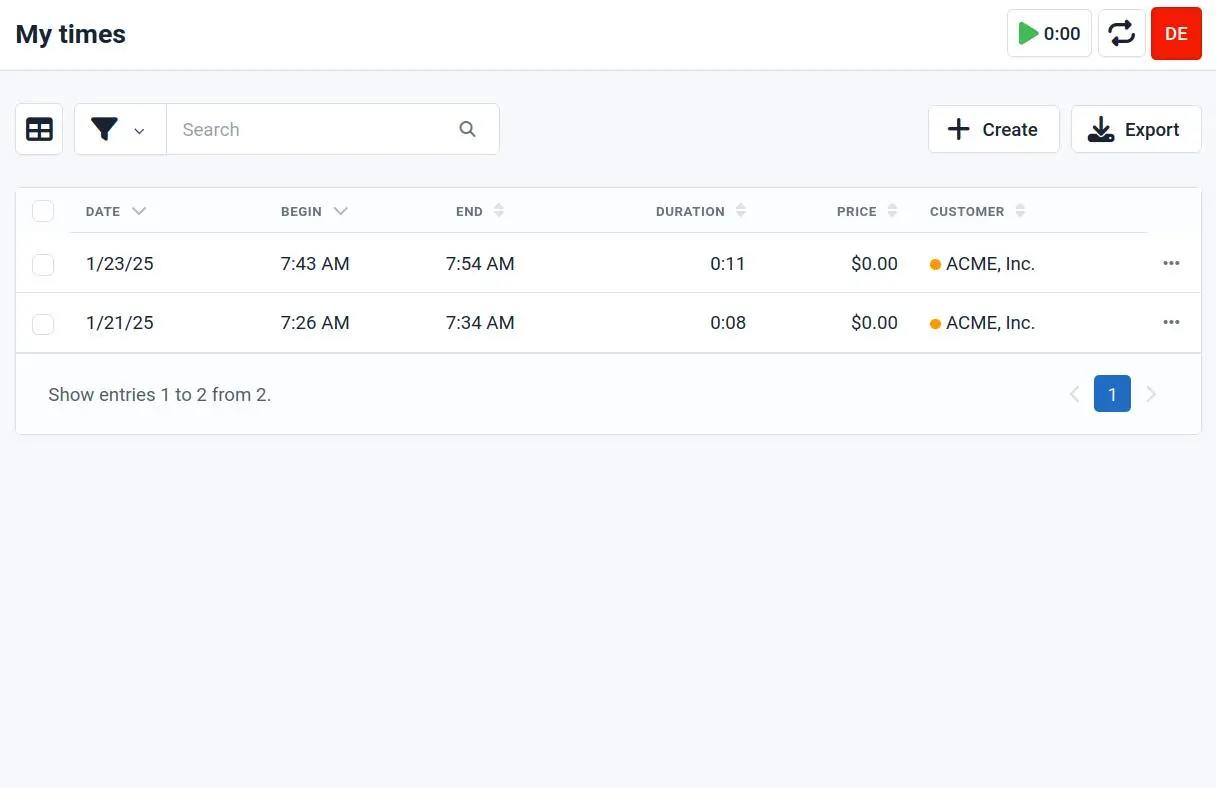
From here, you can perform a variety of actions:
- View all your recent time entries
- Filter by date range
- Export your timesheet
- Customize the display
Click the three horizontal dots next to any time entry:
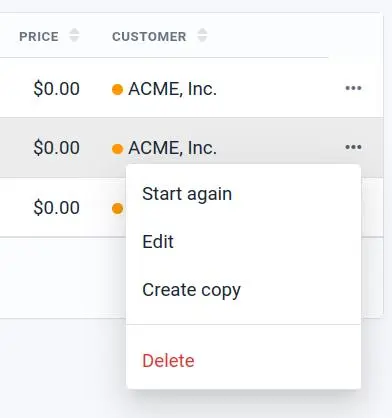
and the following additional actions can be performed:
- Start the same timer again
- Edit a time entry
- Copy a time entry
- Delete a time entry
Manual Entry
You can also create time records manually by clicking the "+ Create" button in the timesheet view, which allows you to enter start and end times for past work.
Next Steps
Now that you know how to track time, you might want to explore Kimai's own time tracking documentation from Kimai's website, for further explanation and additional features.
If you don't already have your own Kimai time tracker, but want to play around with a free demo, check out the next page of this guide. 😁